Getting Started
If you have successfully got StencilBox installed and running, then your first step is to try to build one of the sample build configs.
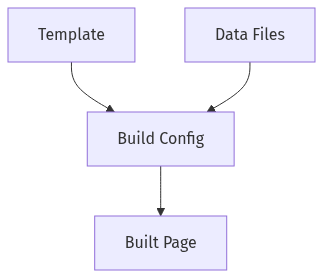
Let’s spend a bit of time working out how everything fits together.
-
Build Config - A build config is a YAML file that tells StencilBox how to build a page. It defines which template to use, where to save the build page, and which data files to use.
-
Template - A template is an HTML file that defines the structure of the page. It uses Handlebars syntax to pull in data from the data files.
-
Data Files - Data files are YAML files that contain the data that will be used to populate the template. They can contain any kind of data, and can be as simple or complex as you need.
-
Built Page - The built page is the final output of the build process. It is an HTML file that can be viewed in a web browser.
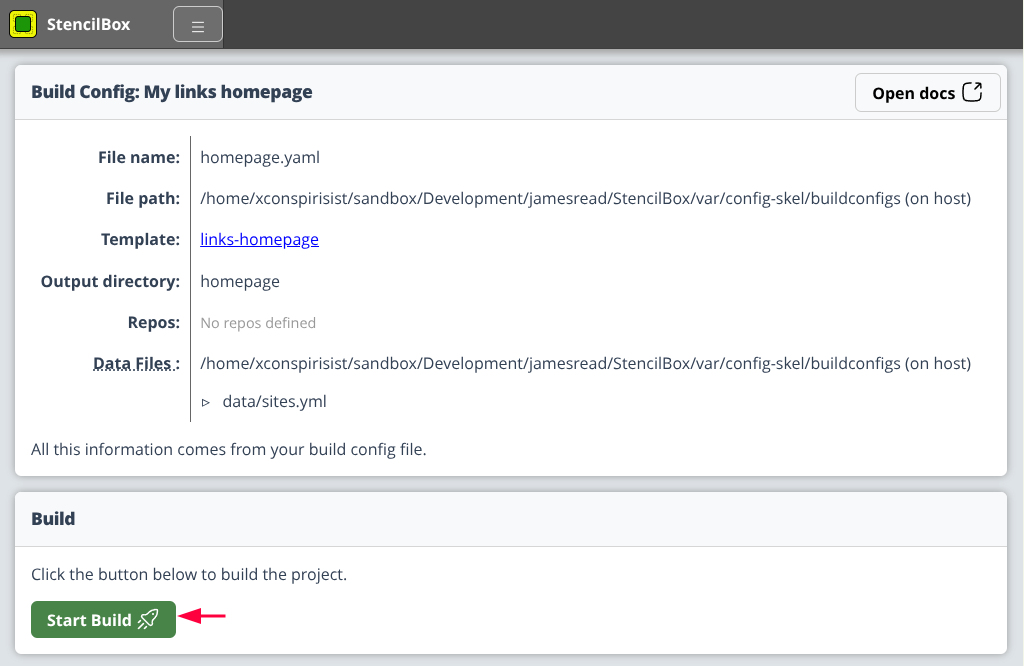
To get started, try building one of the sample build configs that come with StencilBox. You can find them by clicking on the "Build Configs" link, and then opening one of the sample build configs. Click the "START BUILD" button to start the build process.
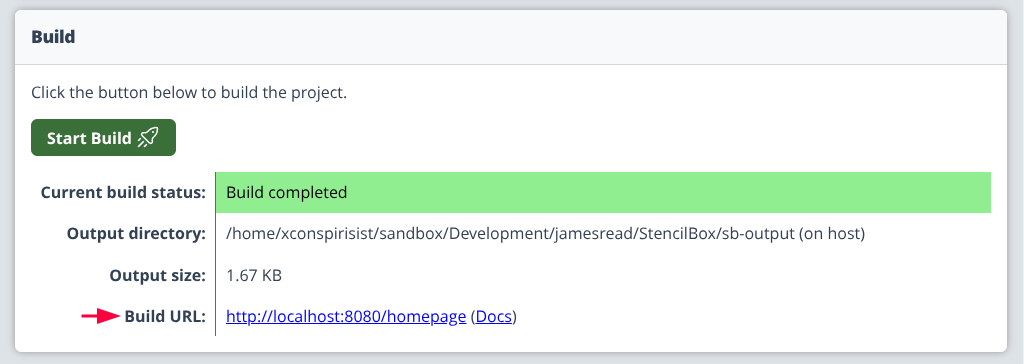
Once the build is complete, you should see a link to the built page. Click on the link to view the built page in your web browser.
If you run into any issues, or have any questions, please refer to Support for help.
Open the built page in your browser, and you should see something like this;

That’s a start, but now let’s edit the Data File to add your own links. You will need to open the data file on your file system, and to make this a little easier, StencilBox gives you the file path.

You can open the file in your favourite text editor (the screenshot below shows nvim), and for the cases of this tutorial, let’s add "creaturesinmyhead.com" to the list of links;

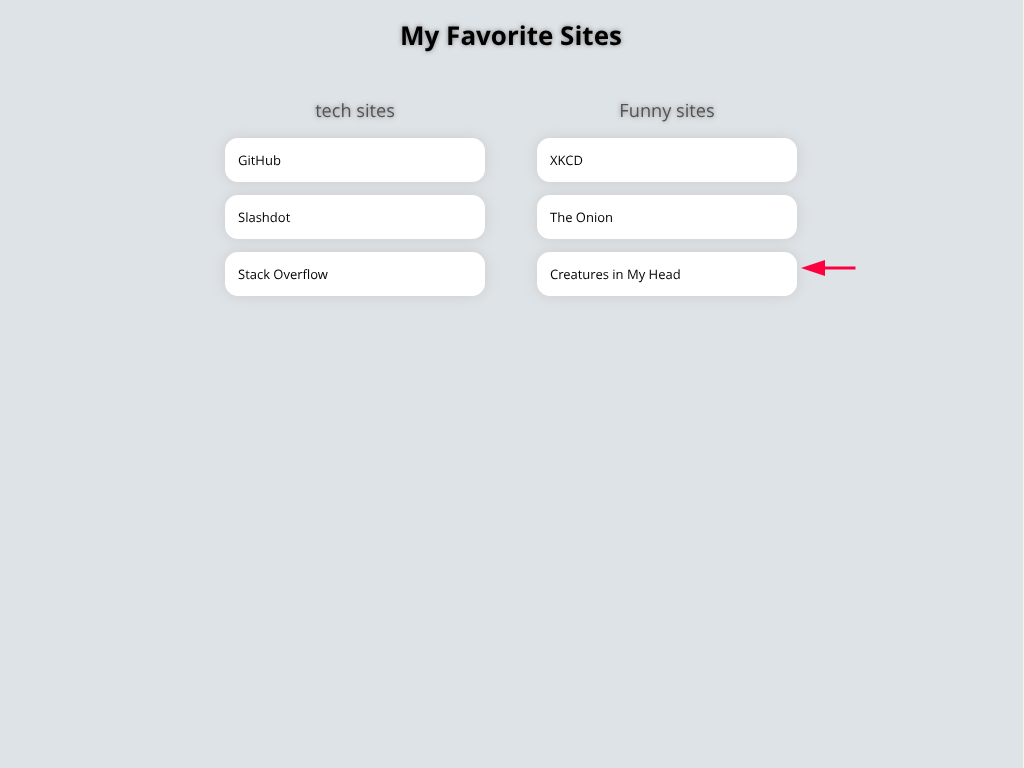
Once eddited, let’s save the file, and then go back to StencilBox and re-run the build by clicking the "START BUILD" button again. If all has gone well, you should be able to refresh the page in your browser (or open it again if you closed it) and see your new link as follows;
That’s it for this quick start guide. You should now have a basic understanding of how StencilBox works, and how to create and edit build configs, templates, and data files.
Next, you might want to explore Creating Build Configs to learn how to create your own build configs from scratch. Alternatively, you can explore Templates (Built-in) in the navigation to learn about the built-in templates that come with StencilBox.